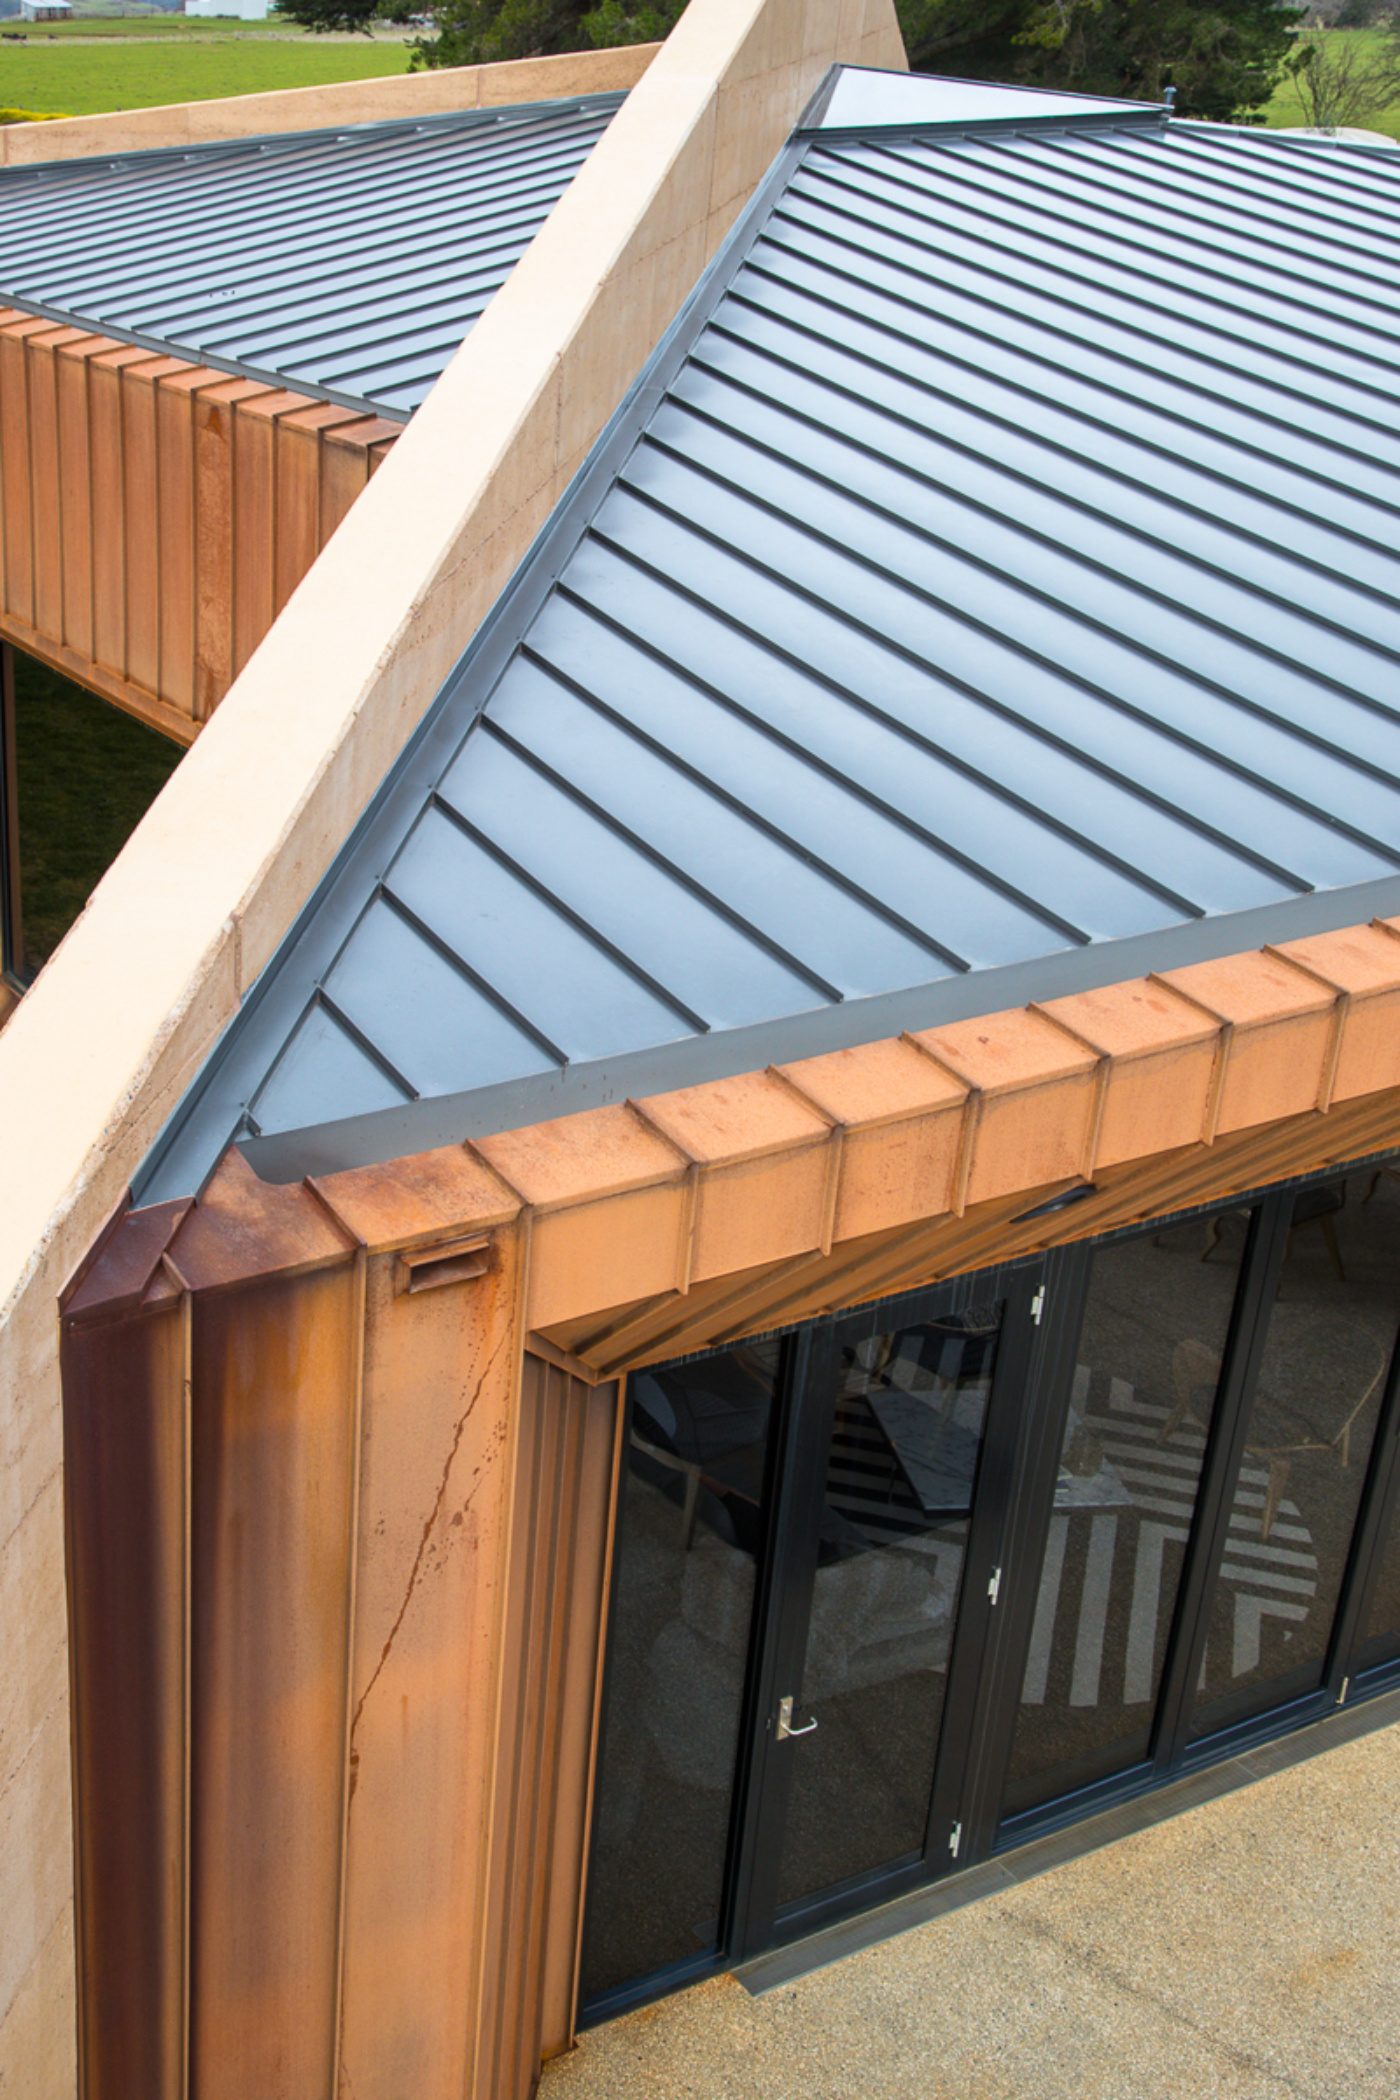
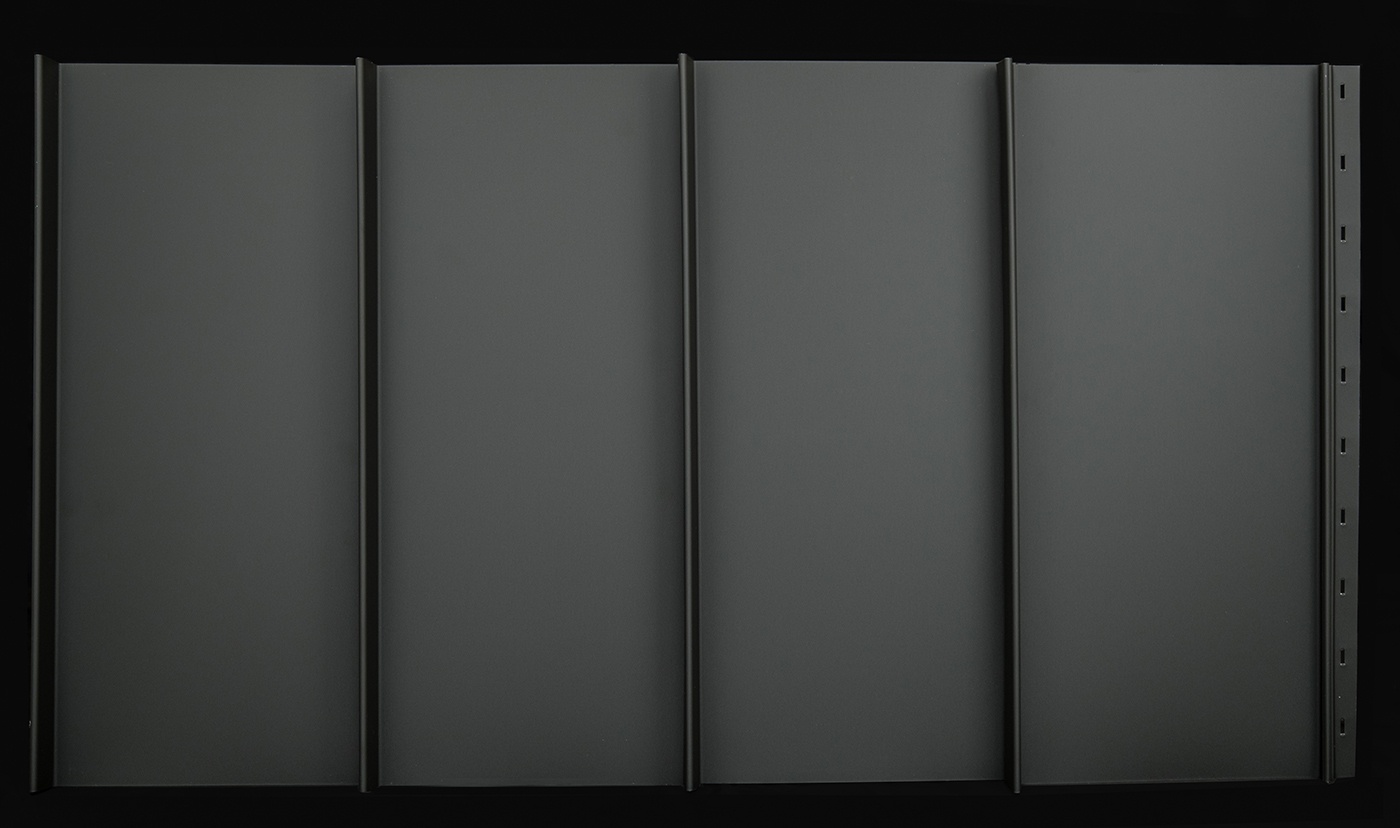
STRUCTUUR NAILSTRIP PROFILE DETAILS
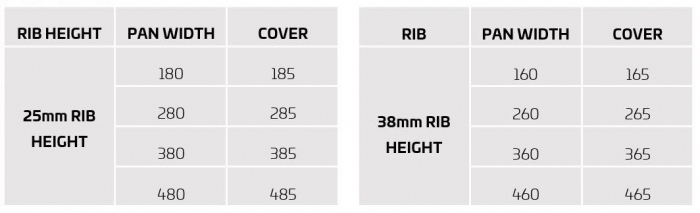
A Variety of standardised pan widths are available for ultimate flexibility.
We also offer customised pan widths to suite a project specific requirement.
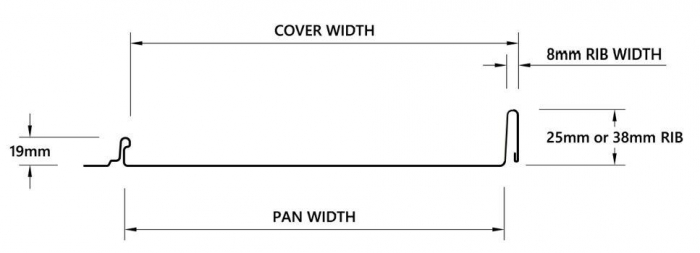
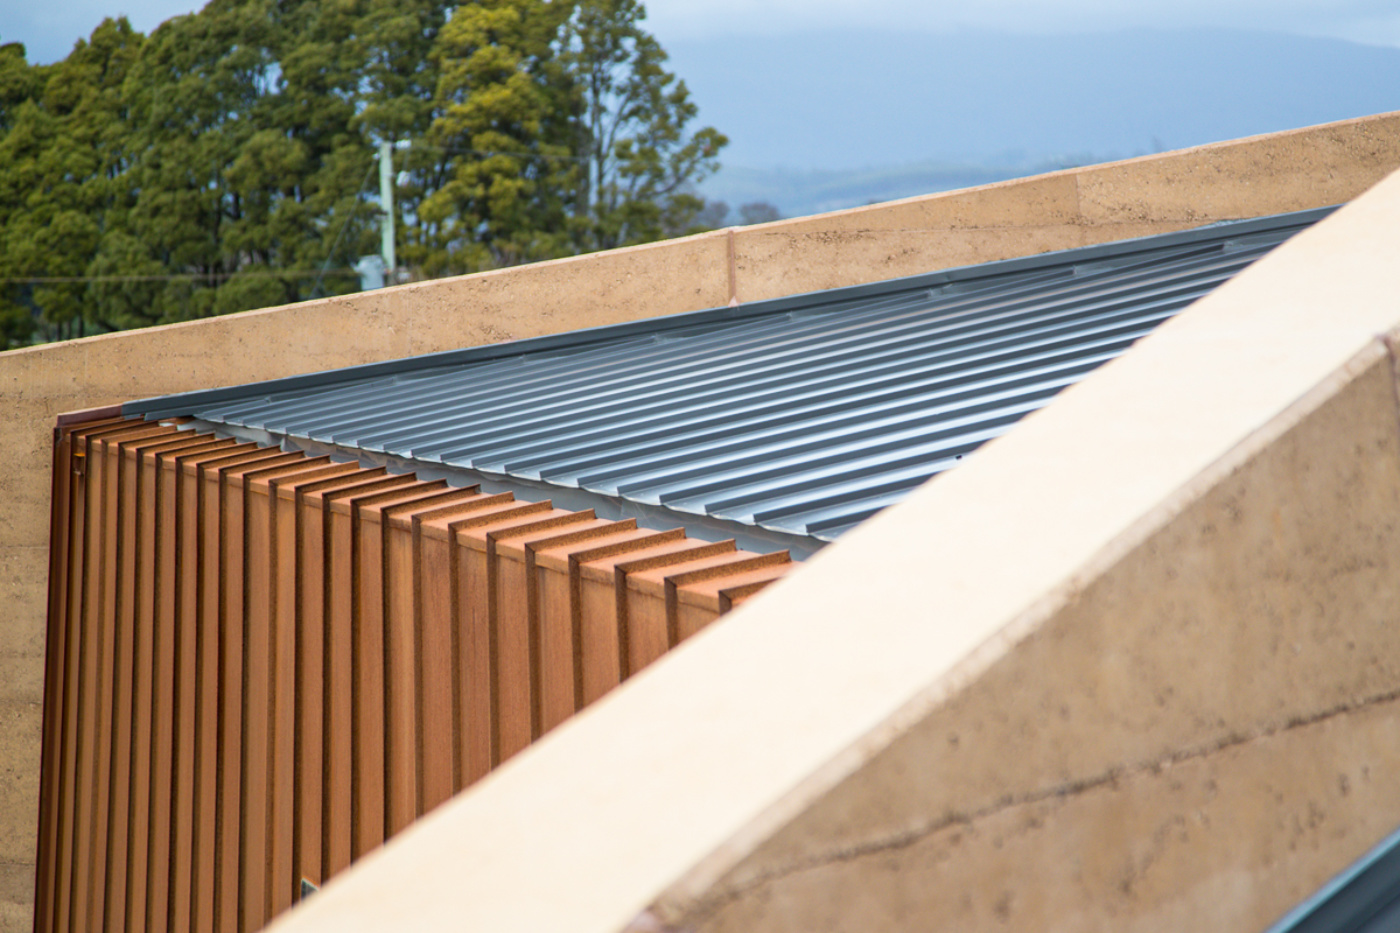
Available with a rib height of 25mm or 38mm
Structuur Nailstrip can also be produced with double overlaps, underlaps and tapers.
We can also fold sheets to eliminate the need for internal or external corner flashings.
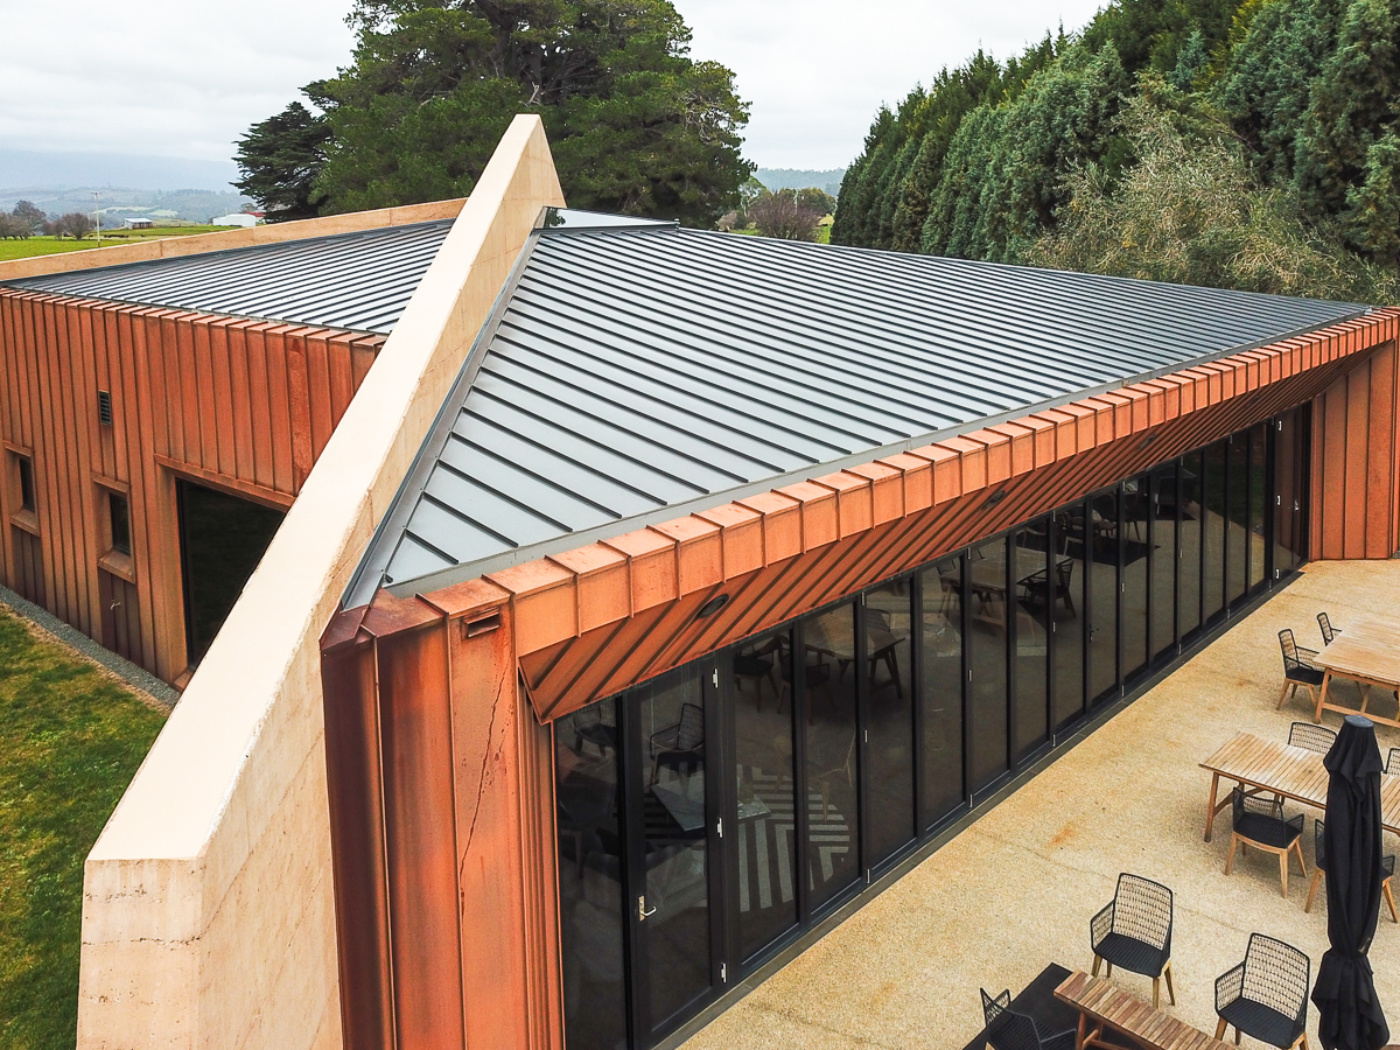
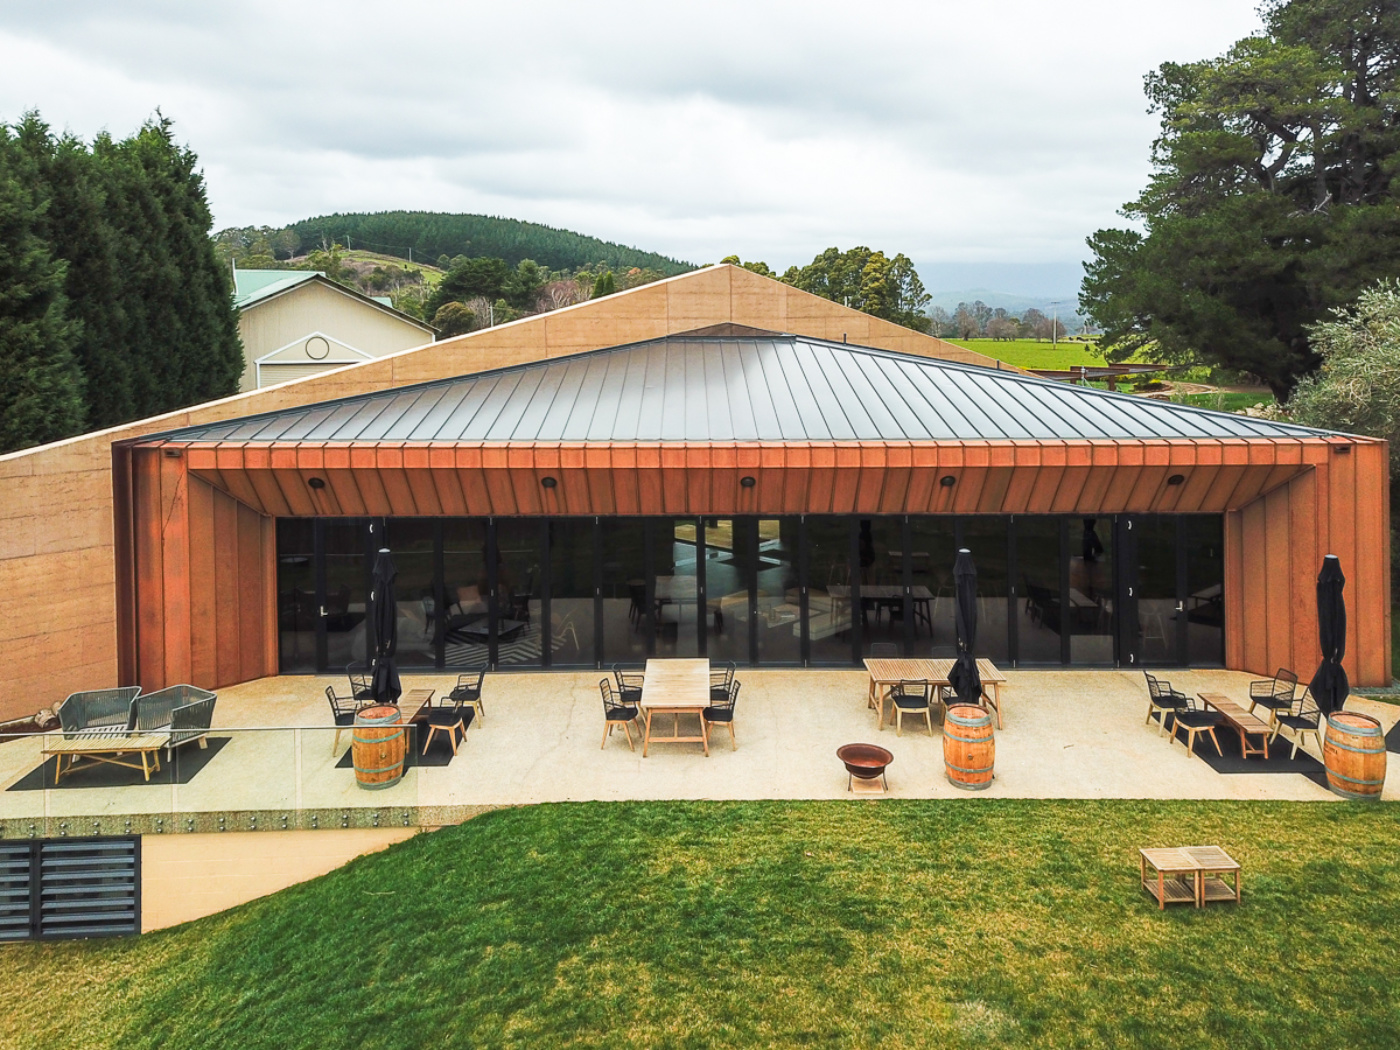
- For roof cladding a minimum pitch of 3 degrees is required
- minimum panel length of 700mm
- Panel lengths limited to a maximum of 9 metres due to expansion & contraction of sheeting
Our standard Pan widths are:
Spanning Capability for all finishes

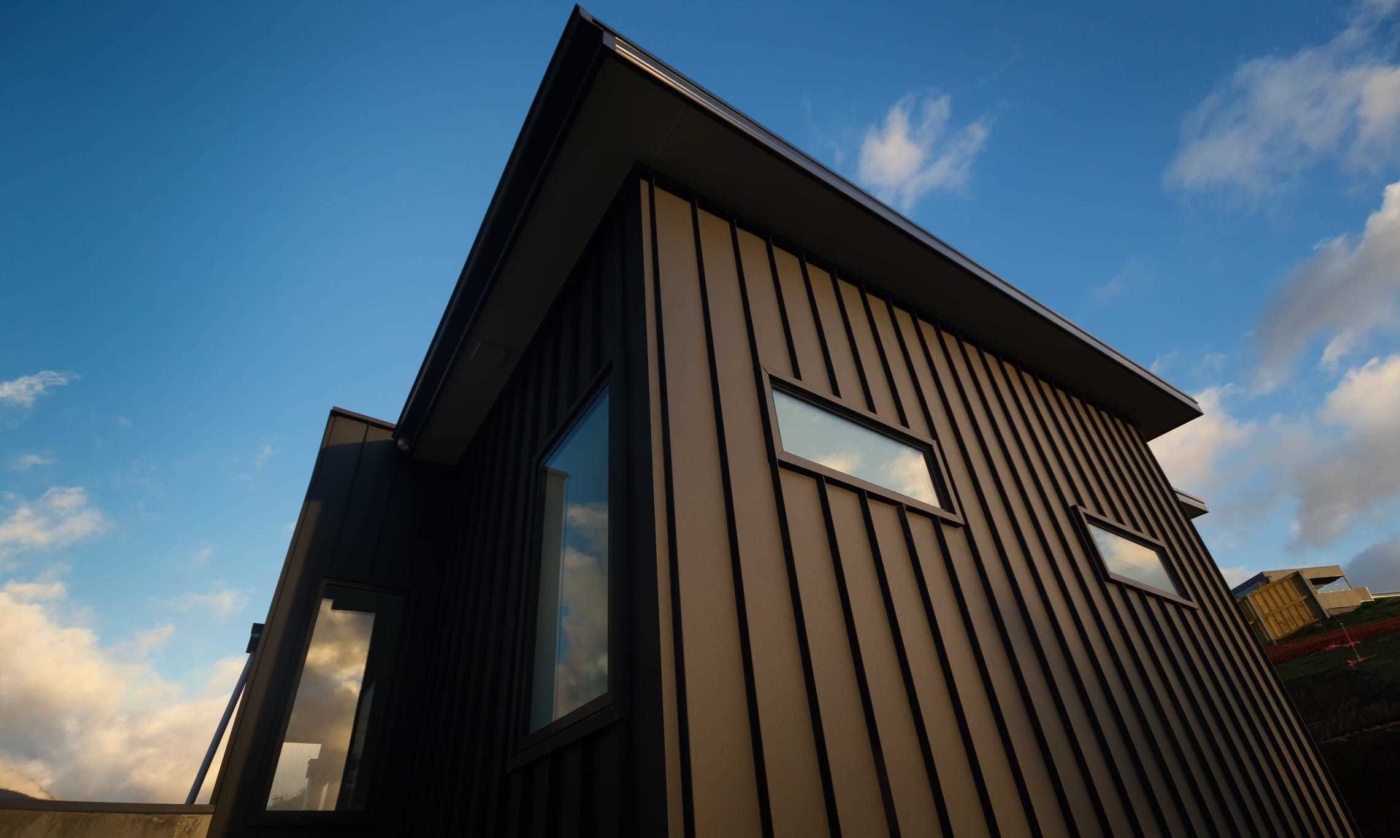
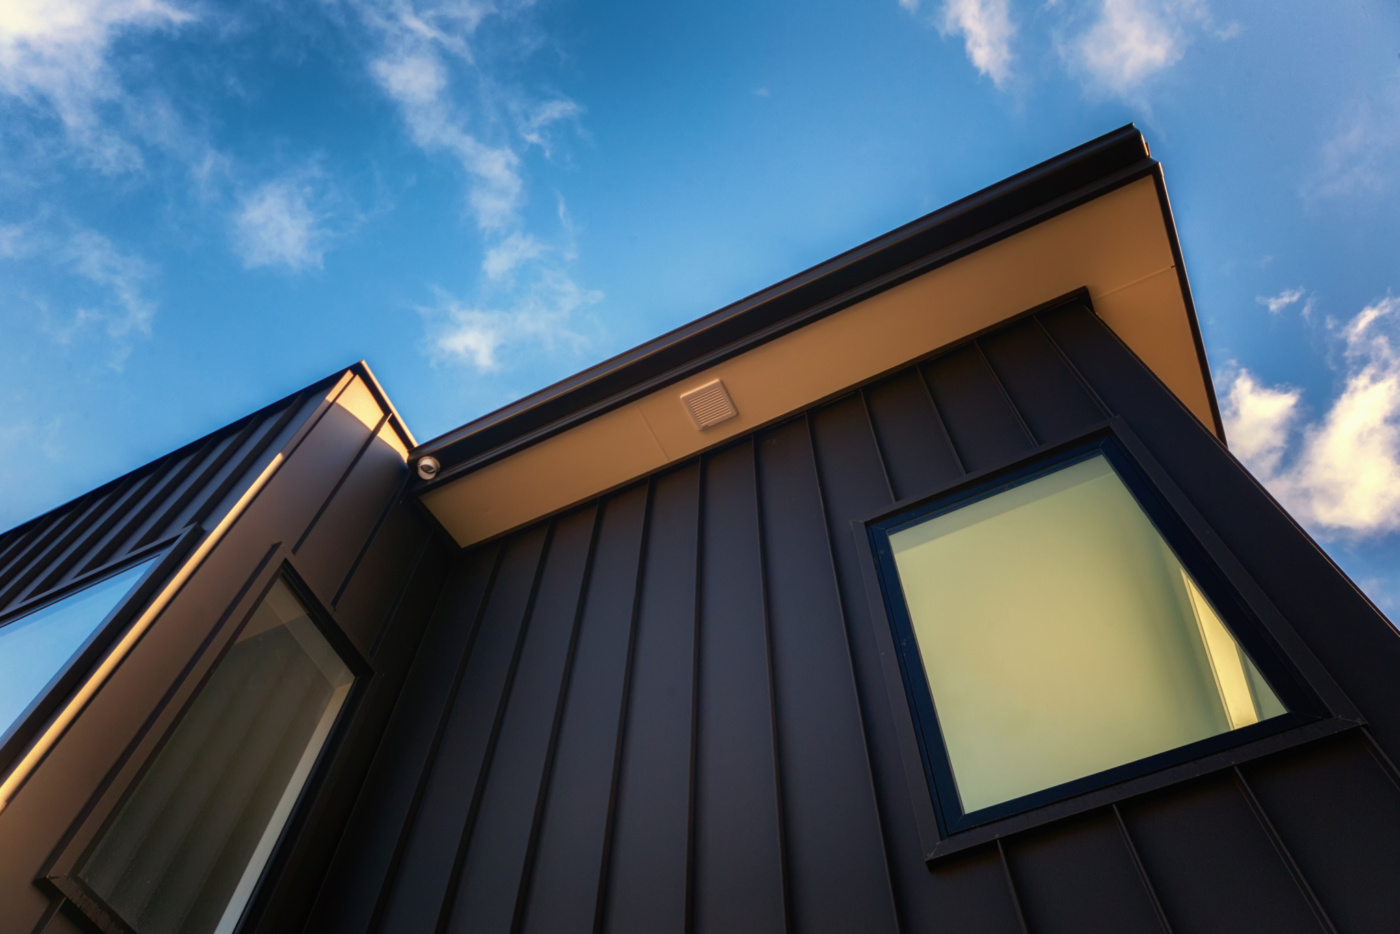
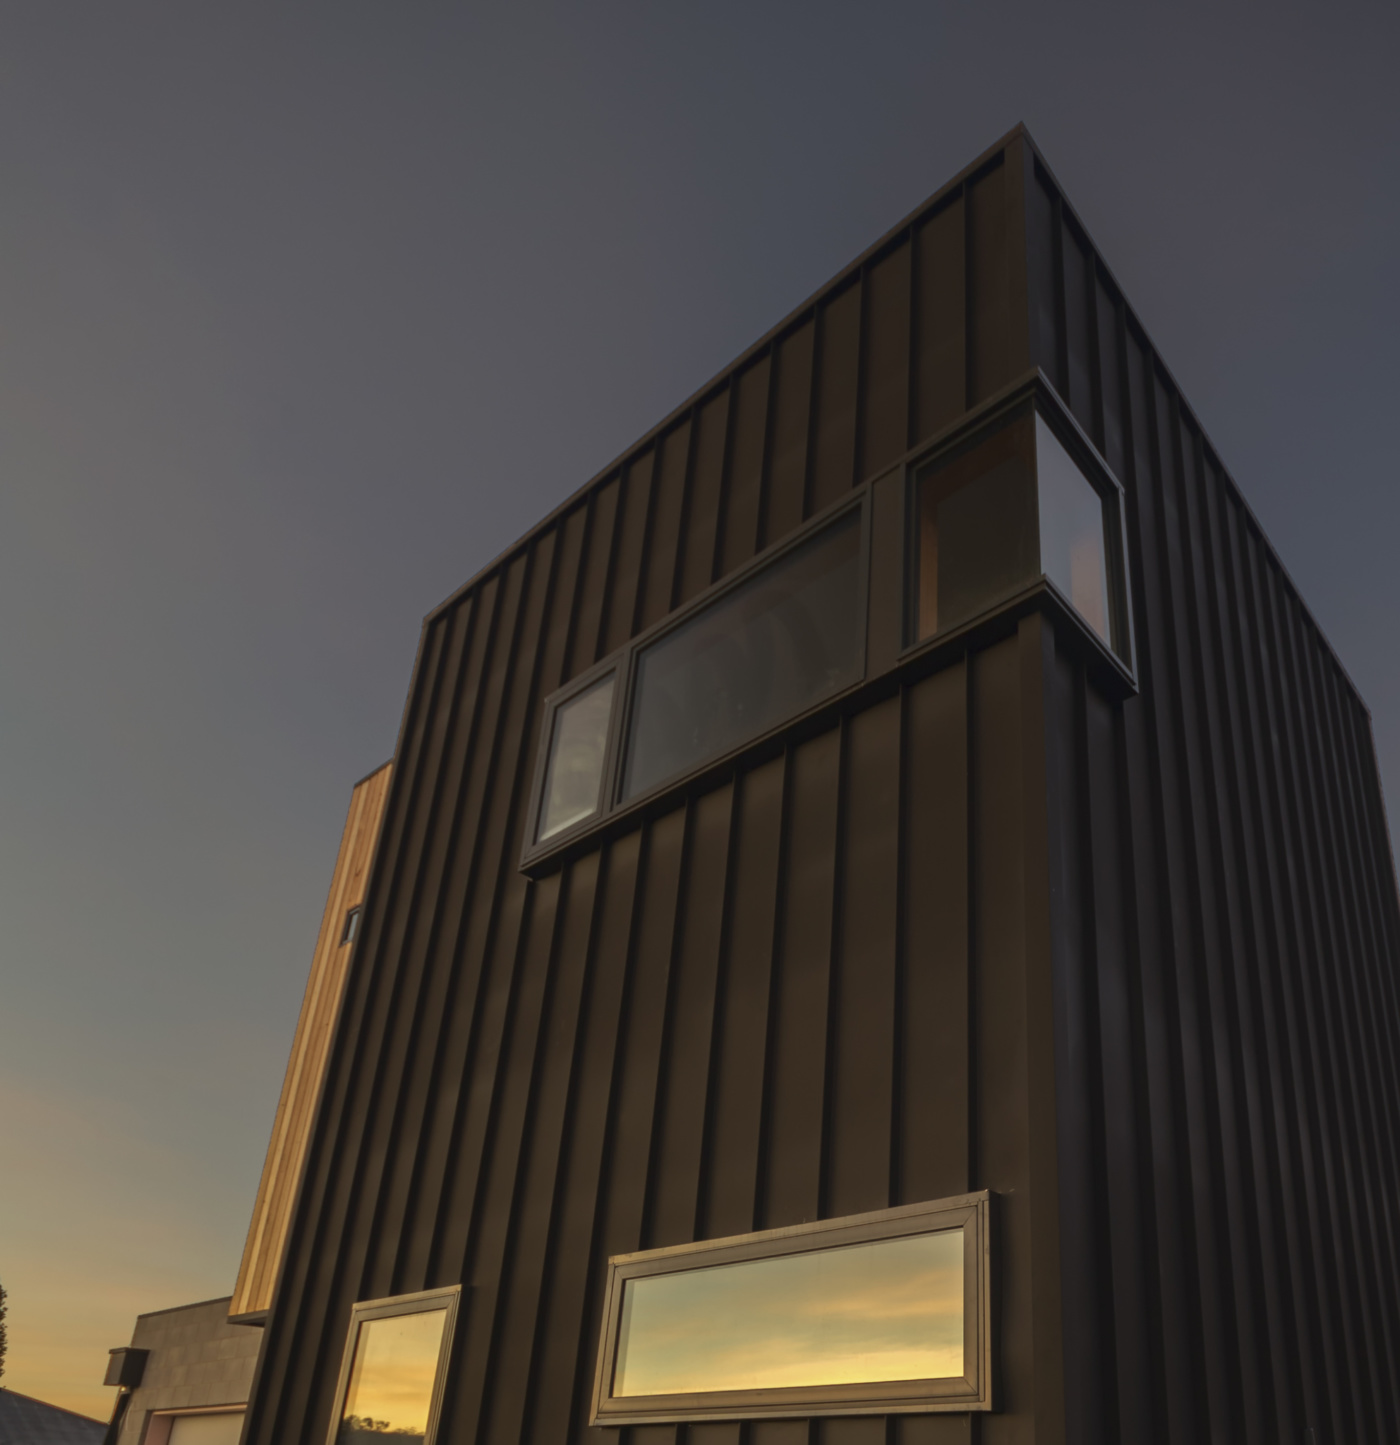
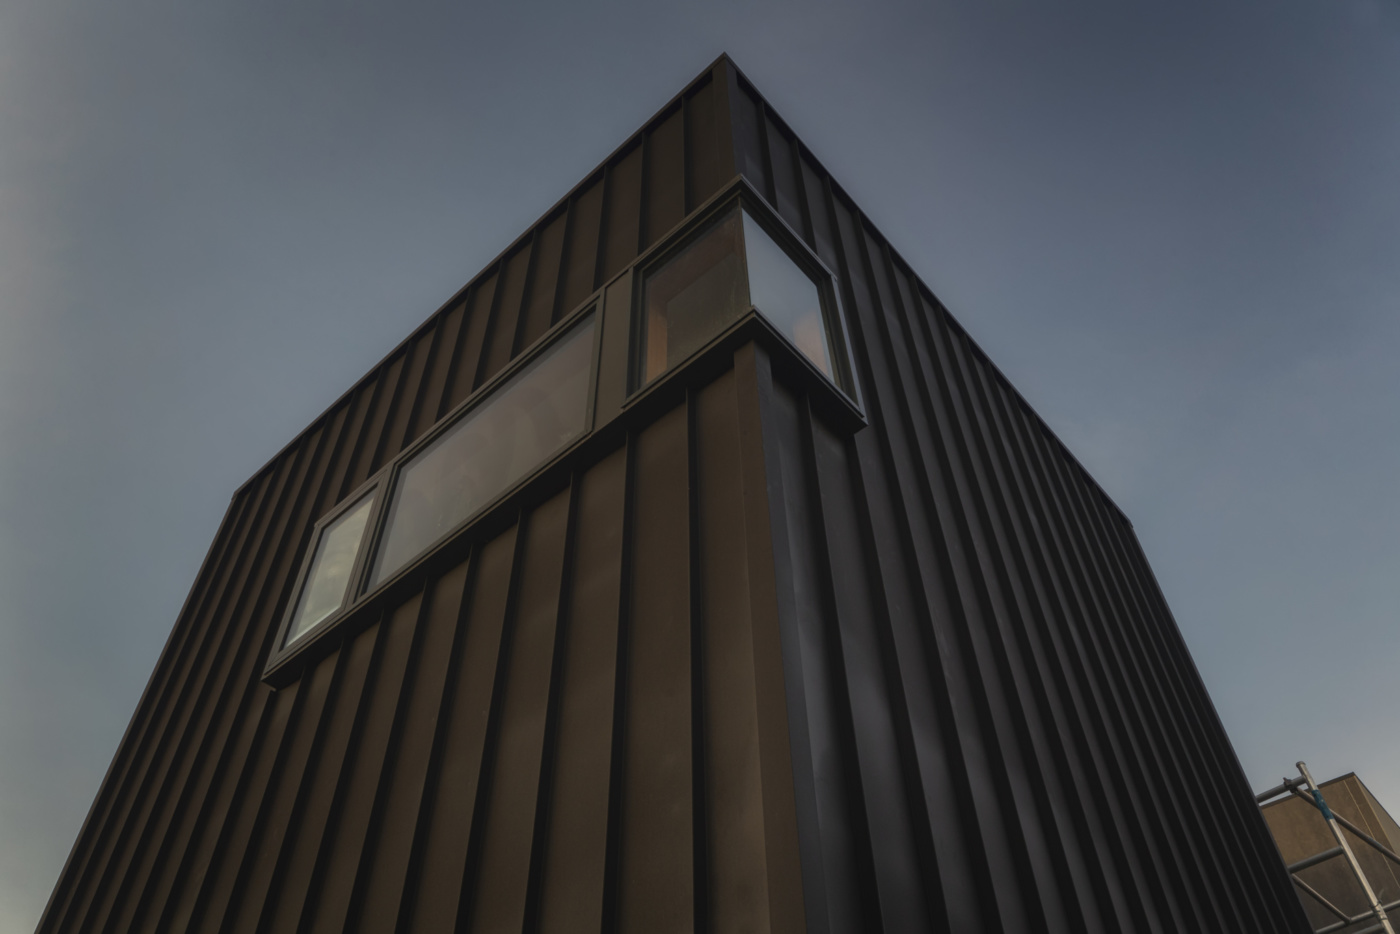
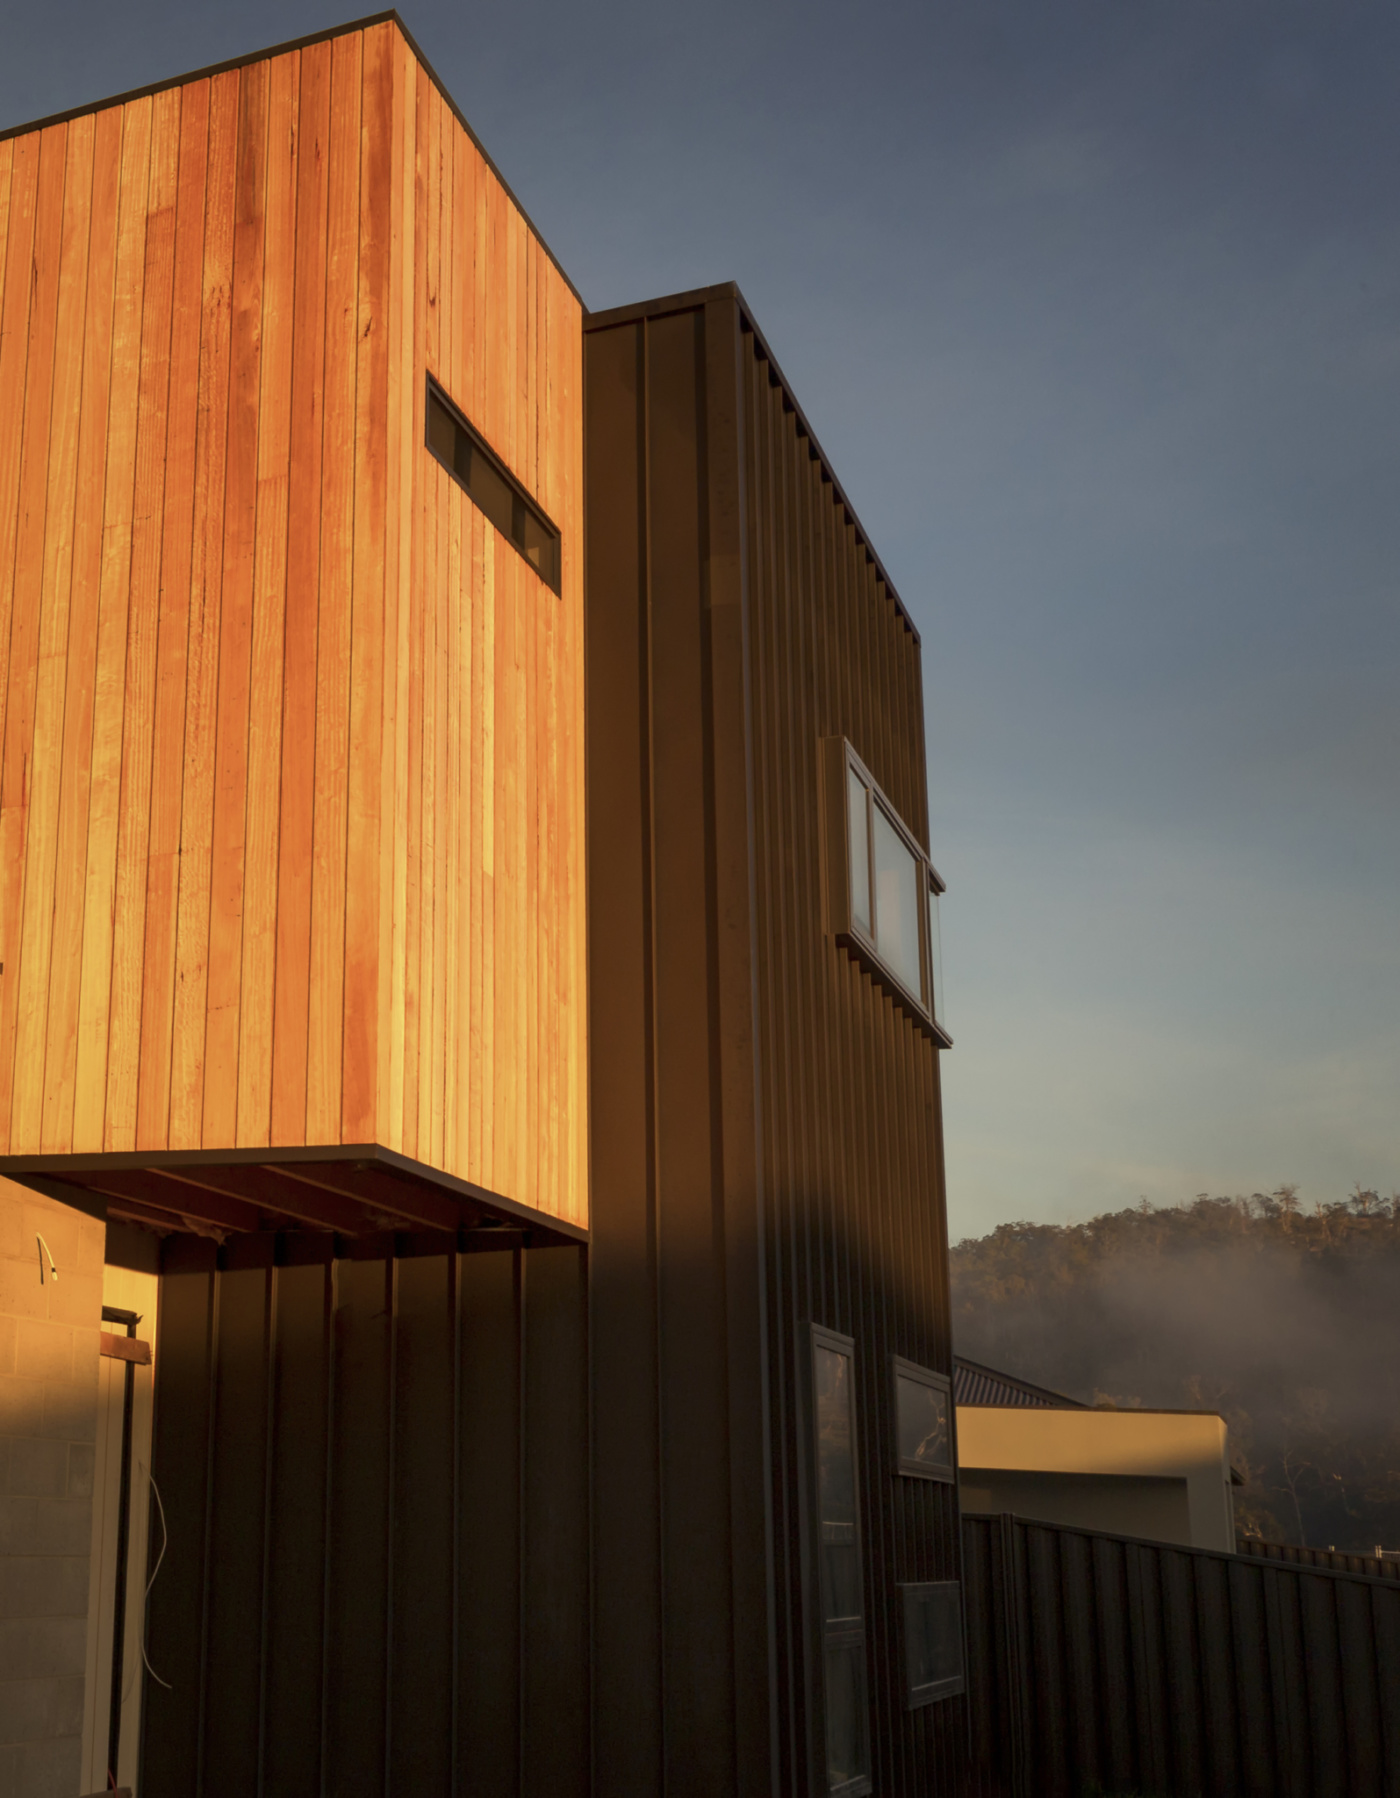
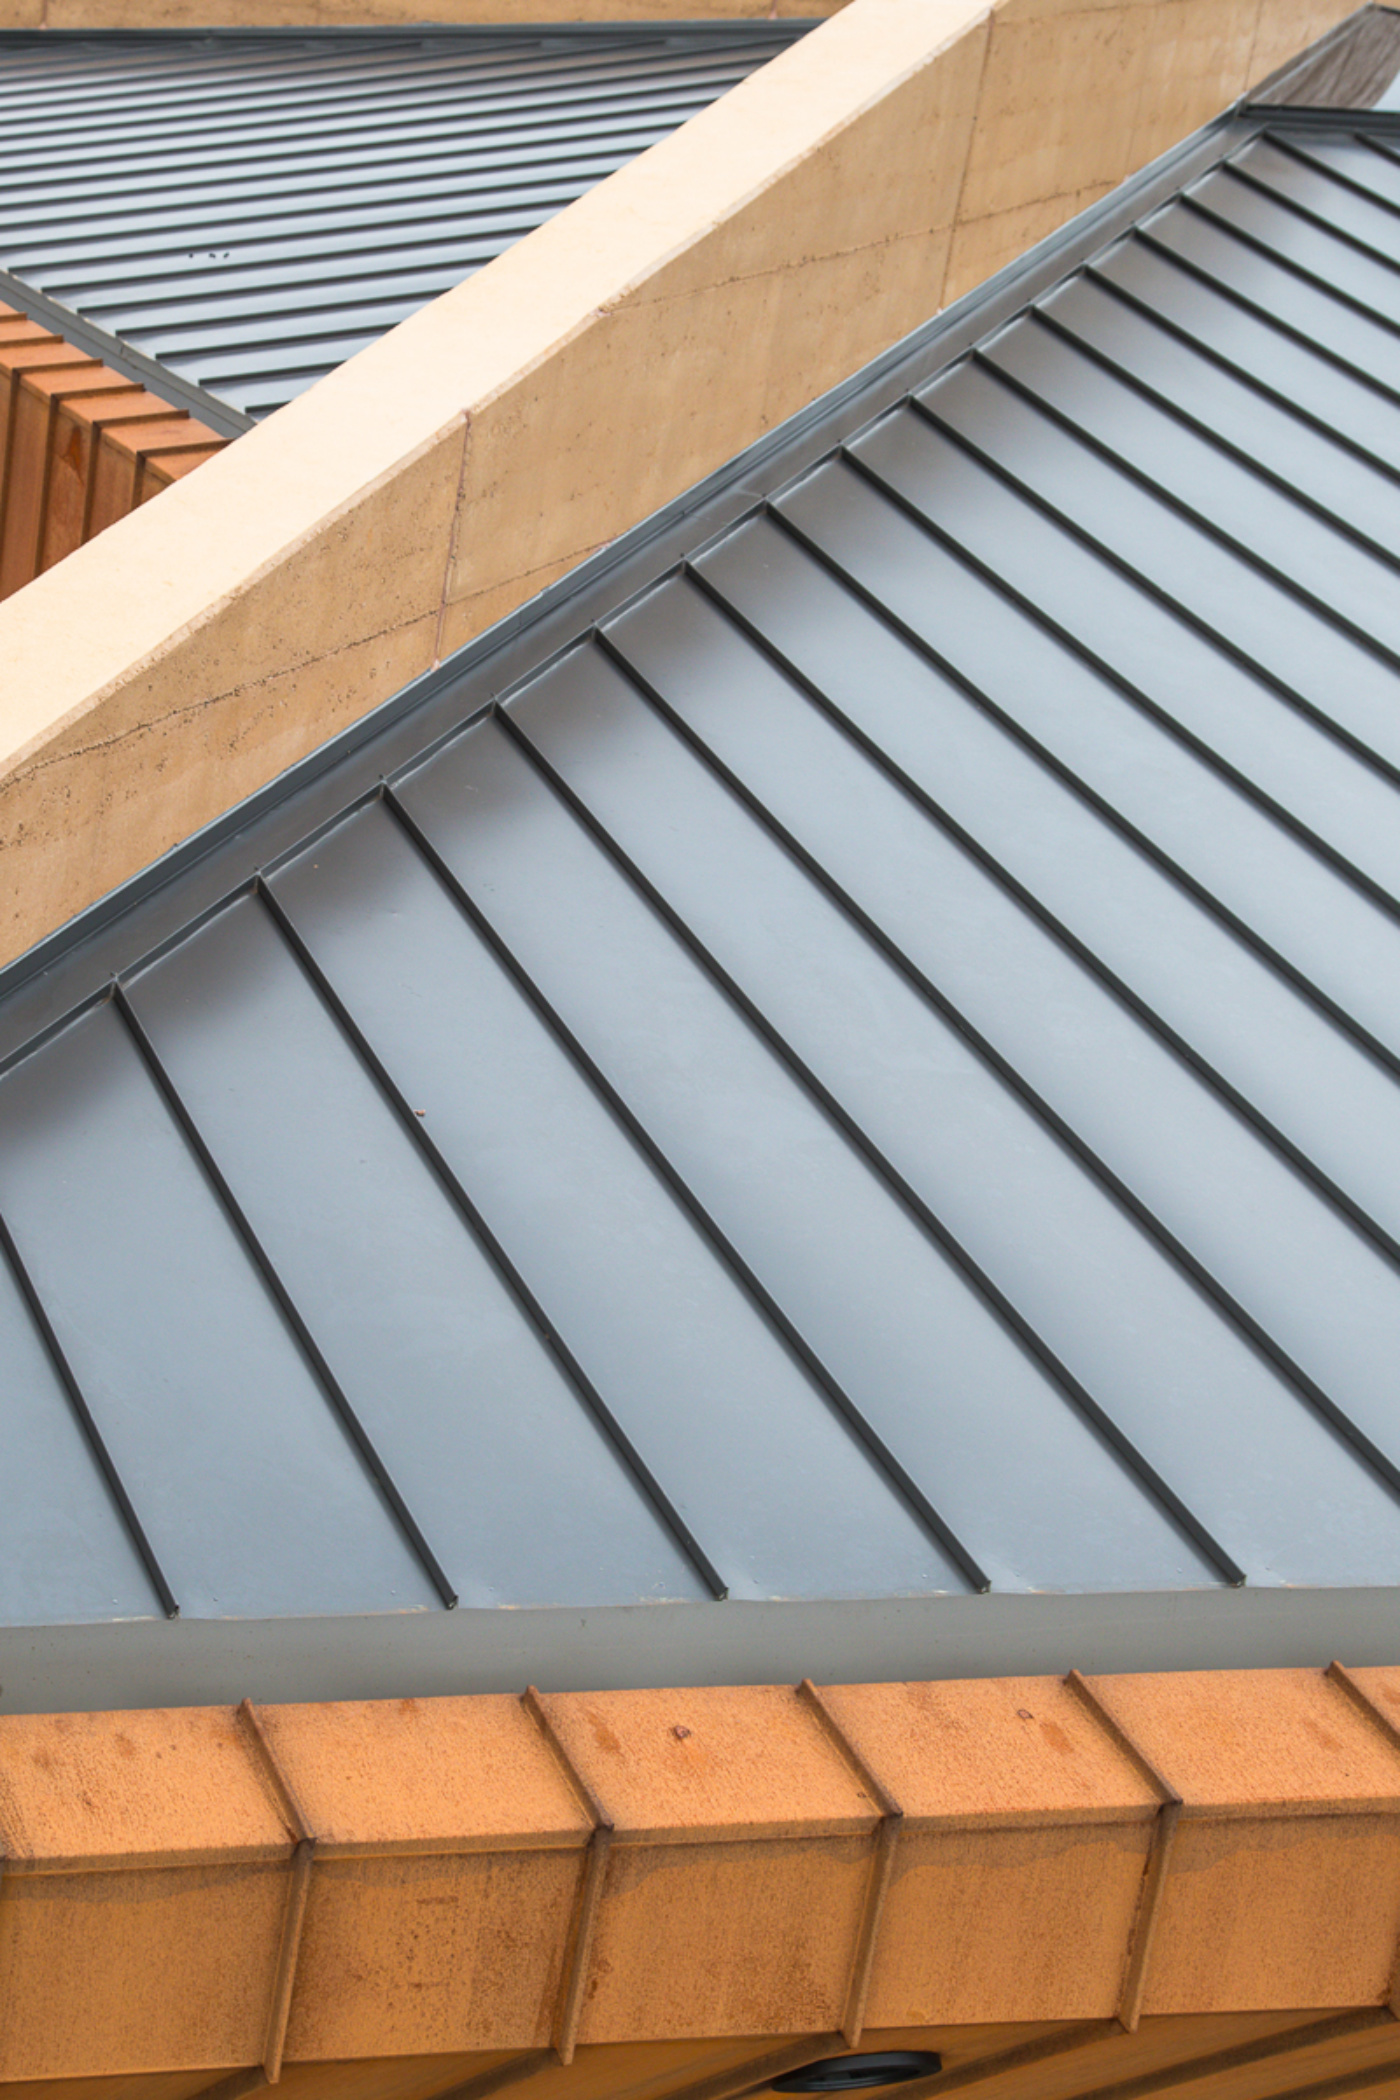
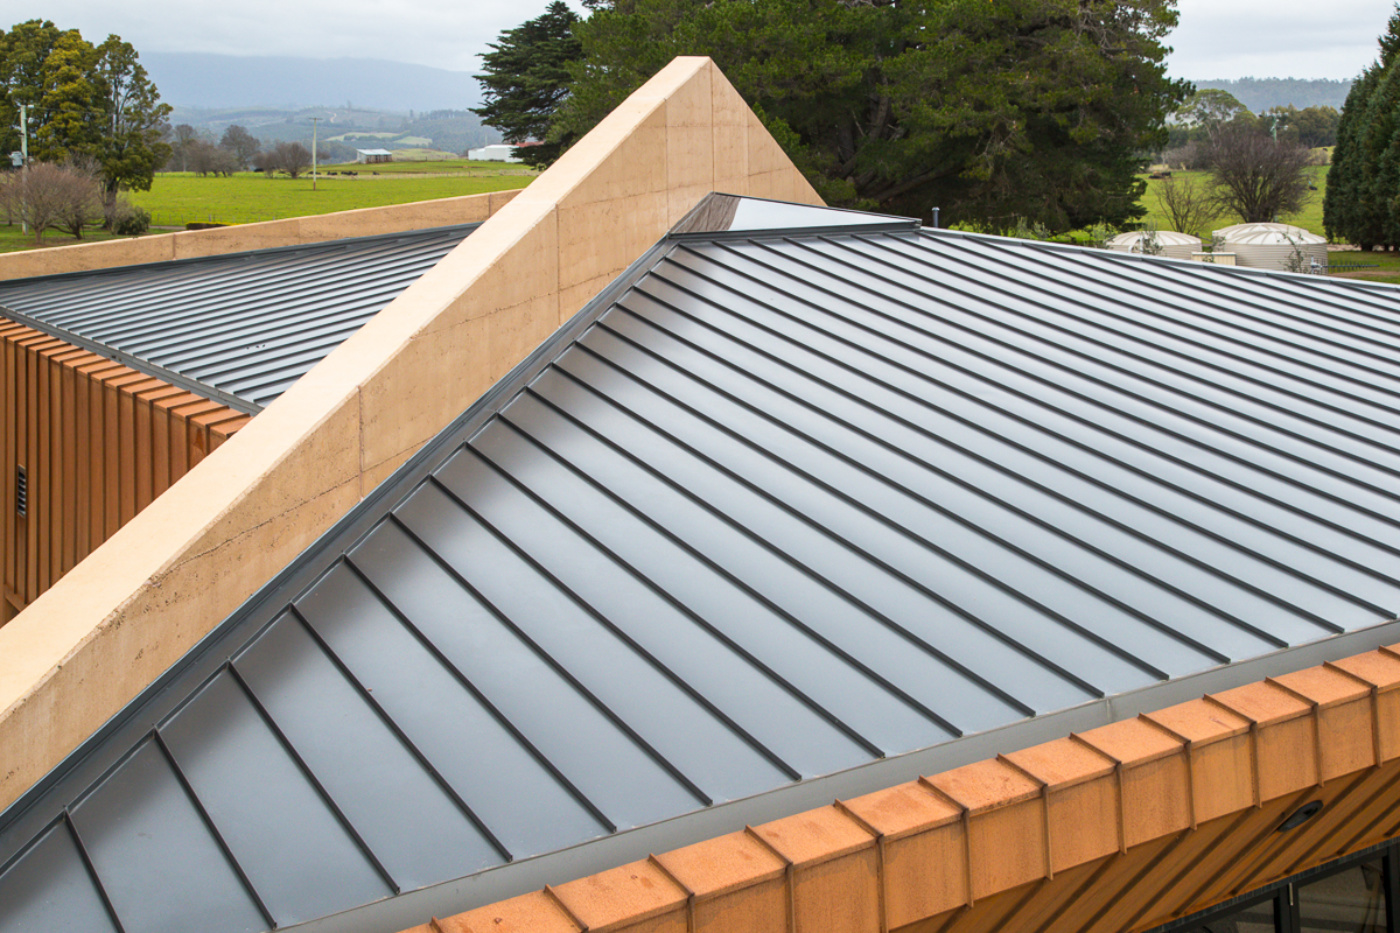
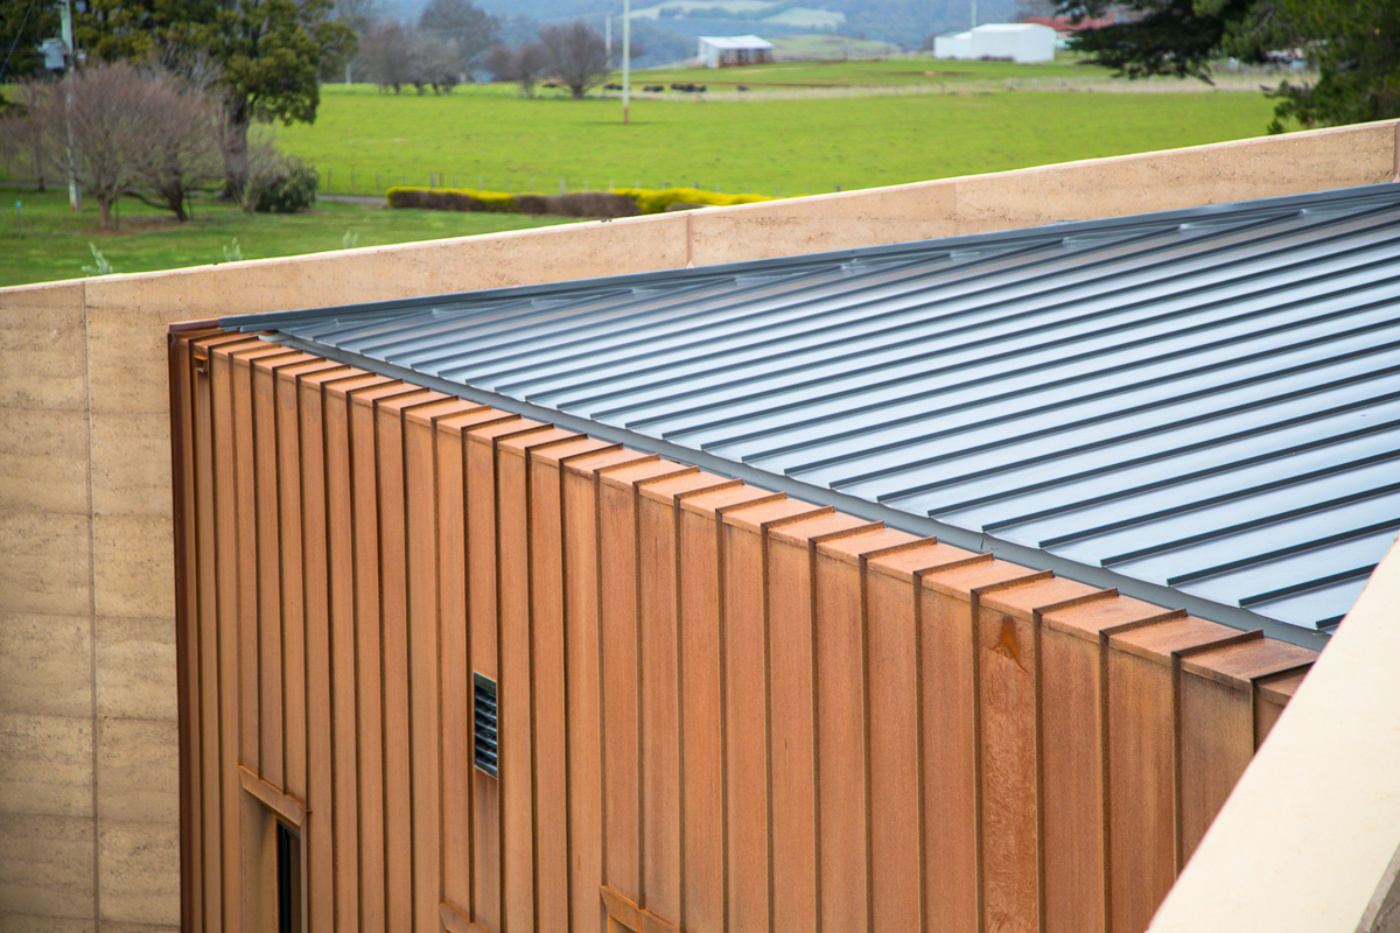
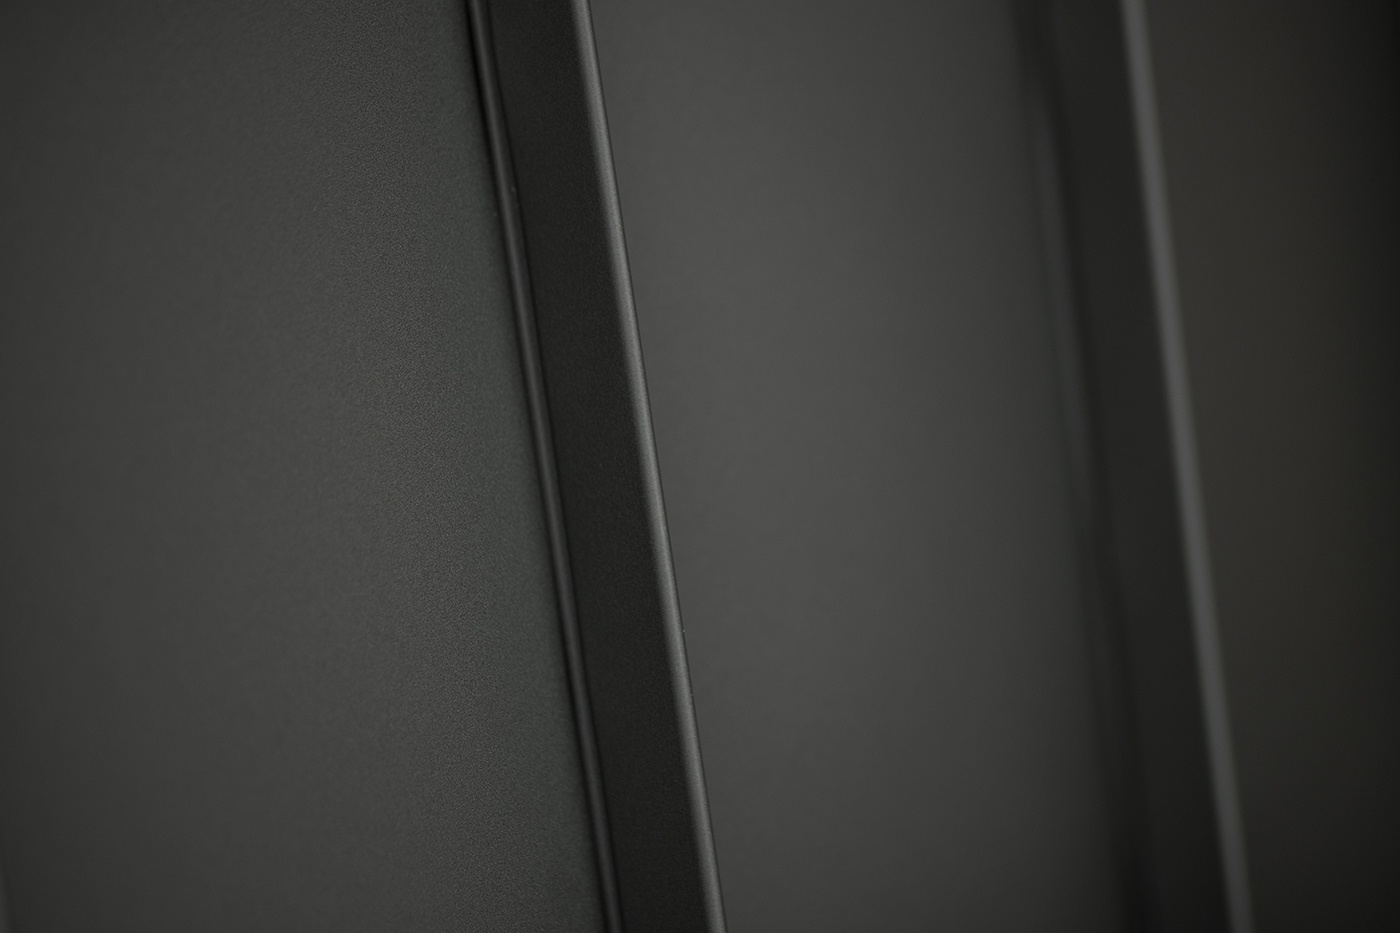
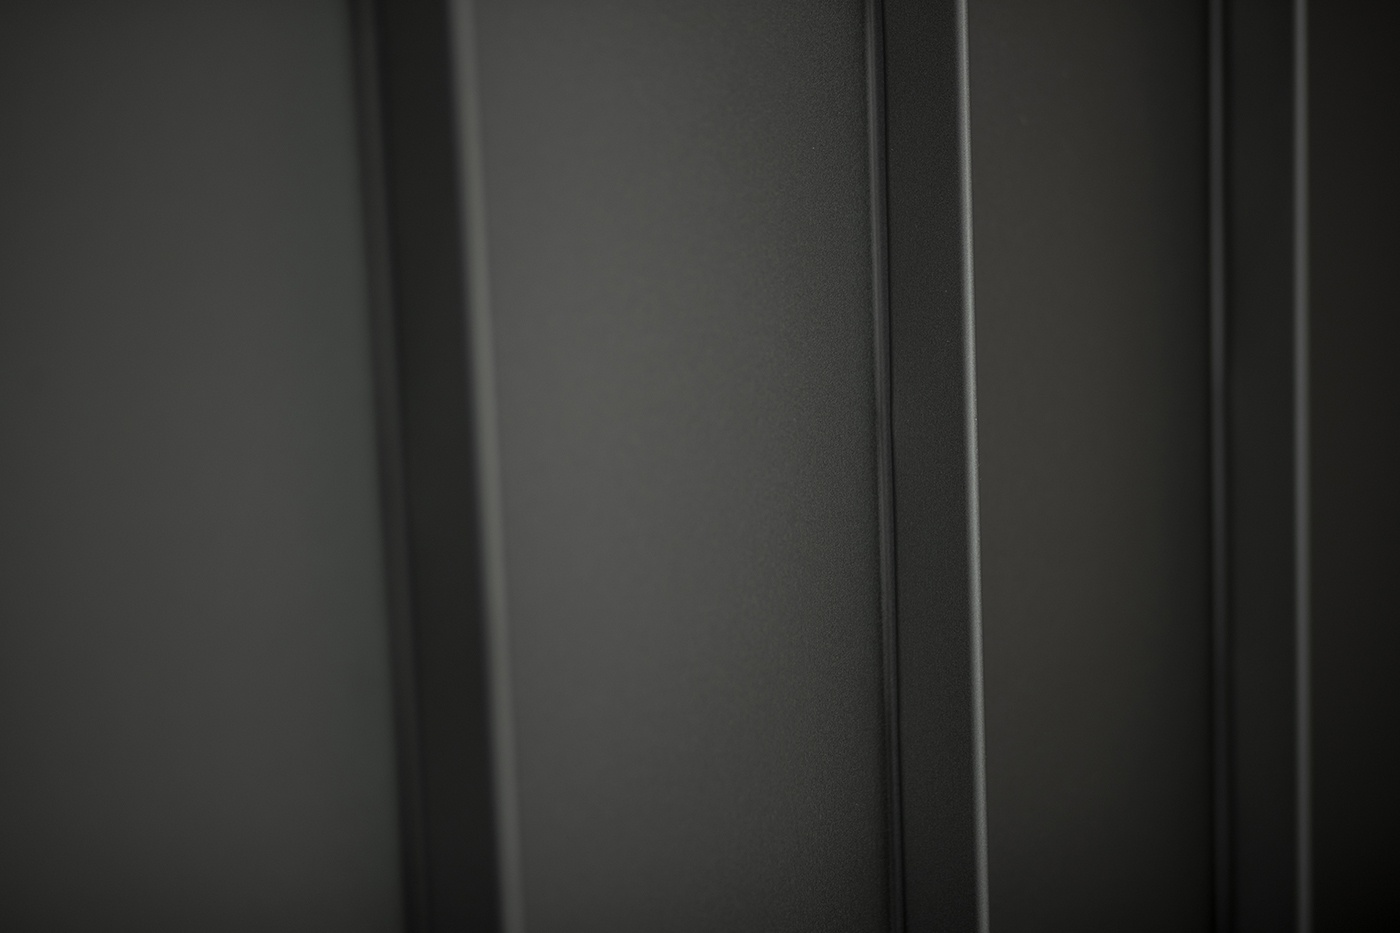
Thin vertical ribs provide a contemporary look
- Offers the same thin rib profile as Snaplock but has no requirement for fixing clips resulting faster installation times
- Simple installation method with no joining or seaming tools required
- Clean appearance offered by the concealed fixings
- Full customisation available by using any pan width giving Architects, Designers and building owners complete freedom
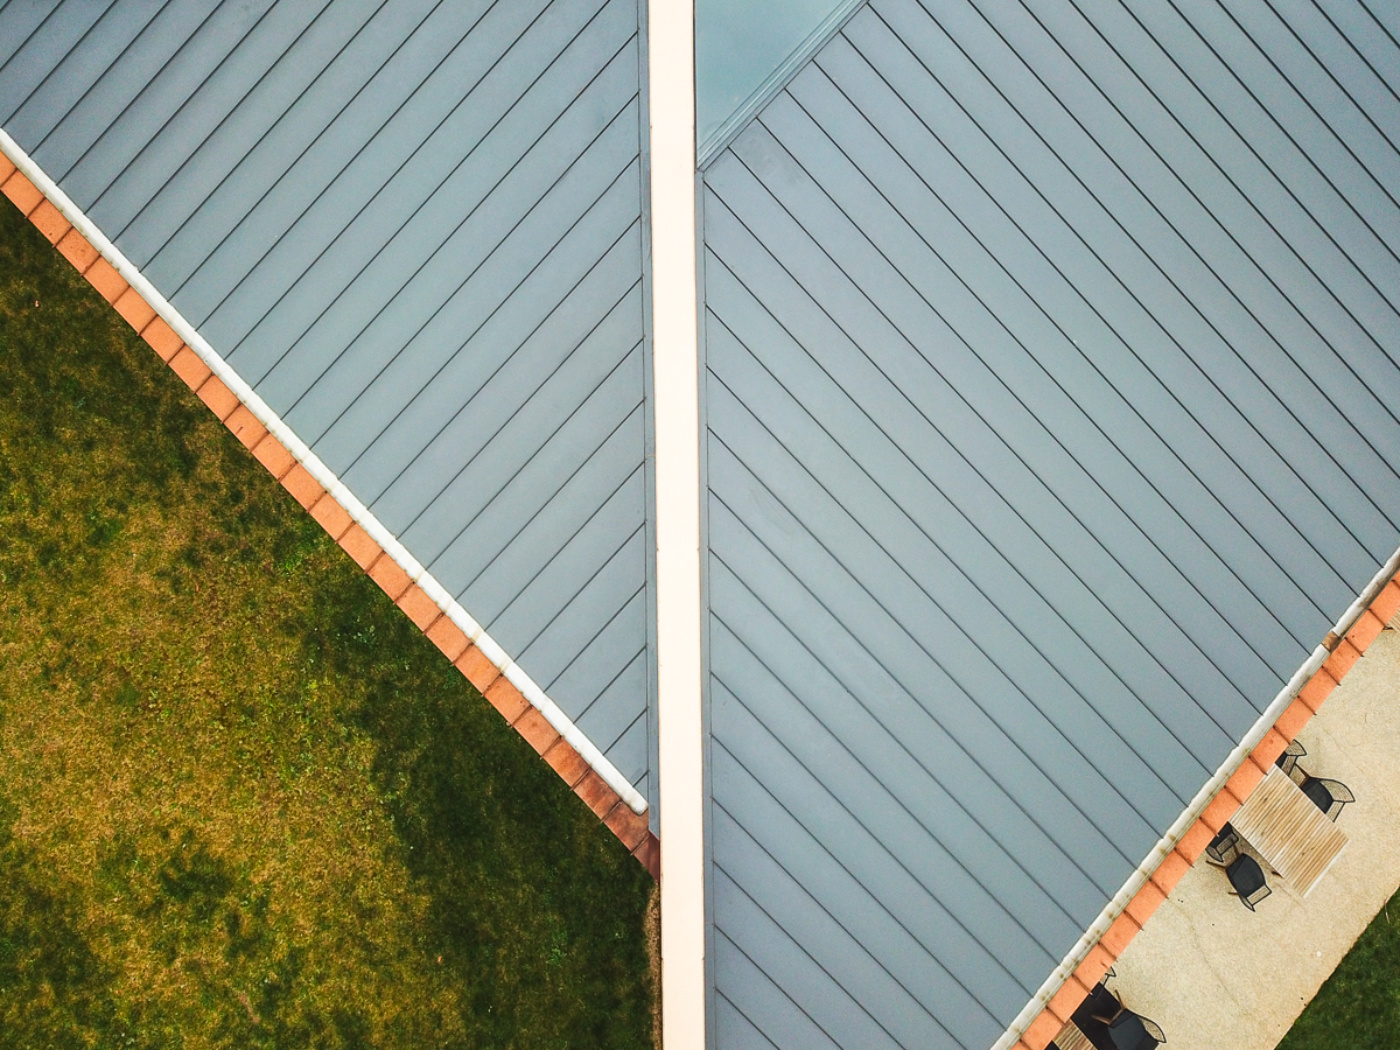
- Vertical or diagonal installation offers unrivalled design options
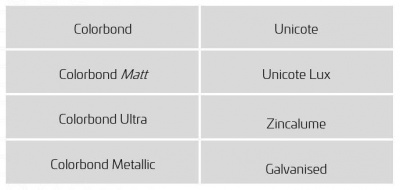
MATERIAL AVAILABILITY
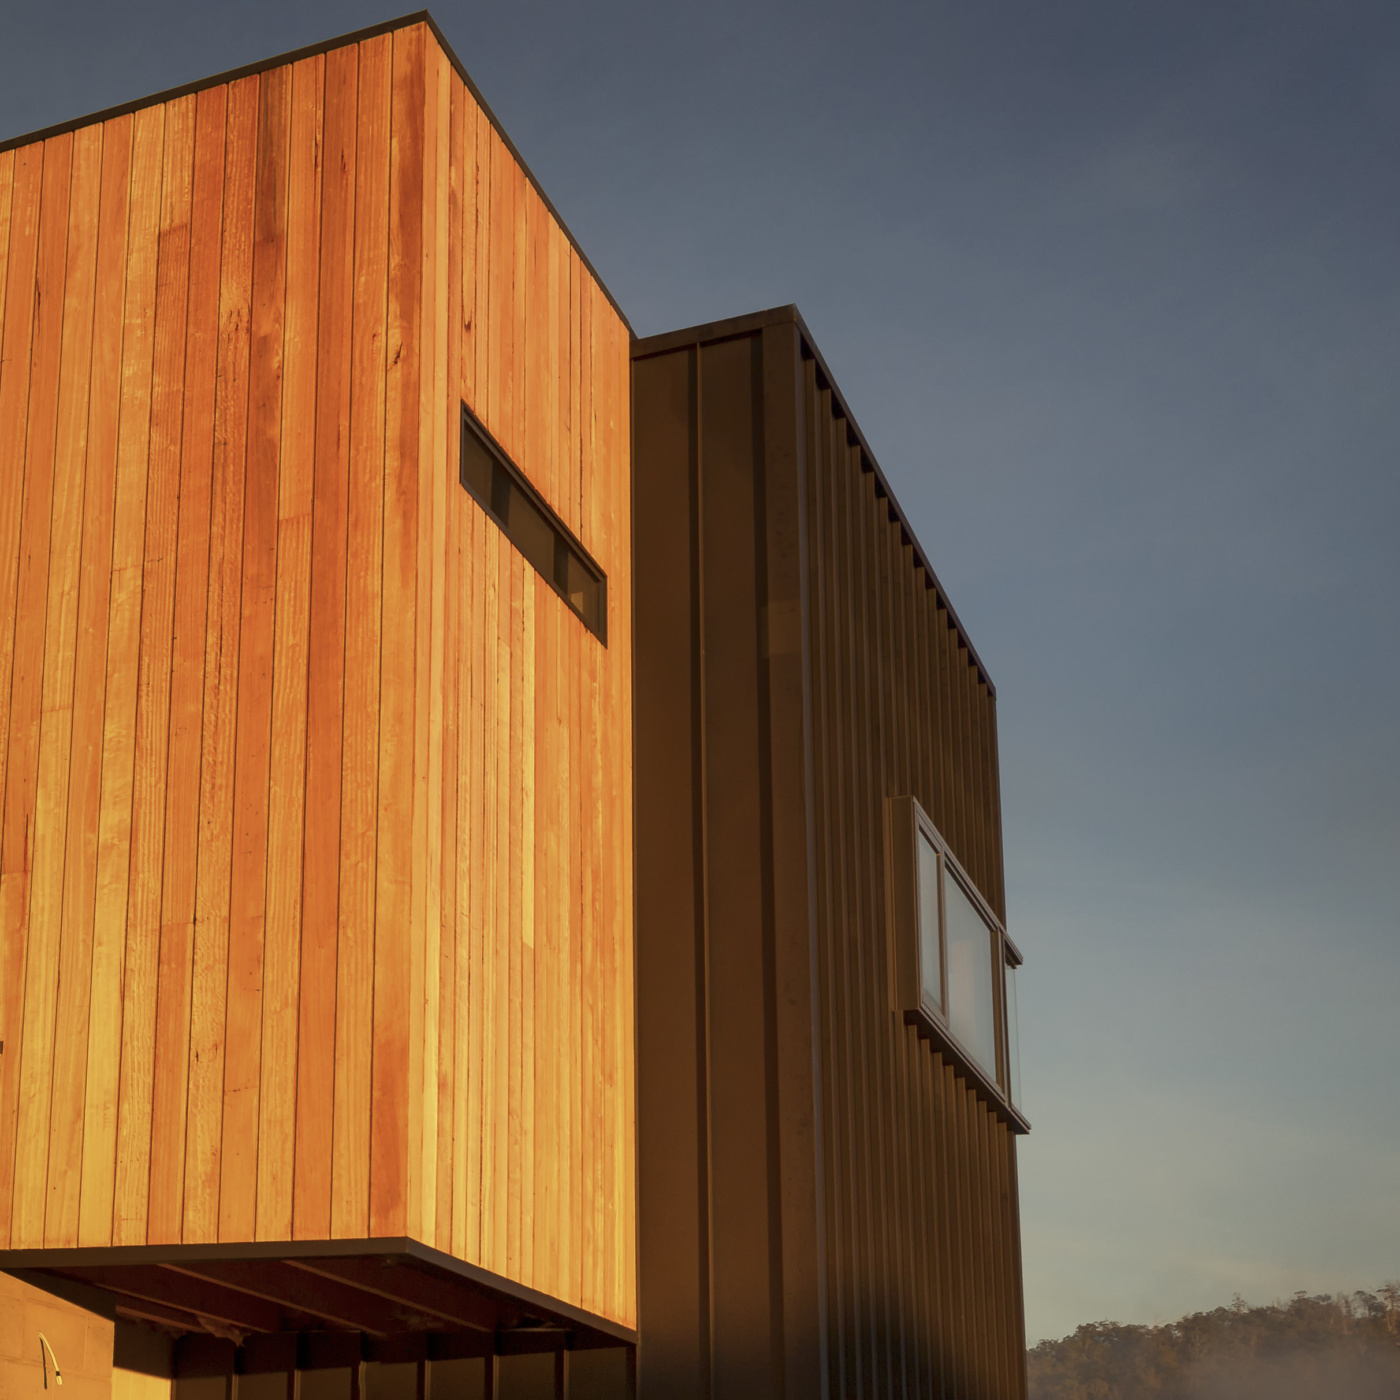
Structuur Nailstrip is available in the following finishes:
STRUCTUUR NAILSTRIP BASIC INSTALLATION SUMMARY
Structuur Nailstrip can be installed by individuals with the following skills:
- A basic knowledge of construction principles.
- The capability to use basic hand tools such as snips and other basic roofing tools.
- Knowledge of waterproofing principles and the ability to install watertight flashings.
Structuur Nailstrip panels are installed by fastening screws through the punched edge of the underlap side of each panel using screws appropriate to the type of substrate being used.
To install each panel:
Snap the overlap onto the underlap of the previously installed panel then fasten screws through the center of the punched slot on the underlap into the substrate. The screws should not be overtightened. Ensure the substrate is straight, ideally within 2mm over the full length of the panel. Maintain panel alignment throughout installation. Provide and install watertight flashings as necessary. Structuur can provide flashing details on request.
Installation of Nailstrip as roof cladding:
Begin by weathering the tops of the panels and aligning the first panel into the gutter, ensuring the correct gutter overhang on both sides. Fix the panel in accordance with Structuur’s recommended span tables. For best results, use a string line set at the correct distance into the gutter. Continue weathering and installing subsequent panels, ensuring each one remains parallel to the stringline.
Installation of Nailstrip as vertical wall cladding:
Install a foot mould flashing at the base of the wall, ensuring it remains level throughout. Use a laser level for accuracy. Plumb the first panel then fix it to the substrate in accordance with Structuur’s recommended span tables. Continue installing subsequent panels, ensuring each one remains plumb throughout the installation.
Installation of Nailstrip as horizontal wall cladding:
Install a foot mould flashing at the base of the wall, ensuring it remains level throughout. Use a laser level for accuracy. Prepare a starter panel by ordering full panels for the base of each section and cutting off the pan from the underlap side. level the starter panel then snap the first full sheet over it. Fix it to the substrate in accordance with Structuur’s recommended span tables. Continue installing subsequent panels, ensuring each one remains level throughout the installation.
Installation requirements may differ based on the material being used.
To discuss your specific requirements and specific installation details, please contact Structuur on 0435 378 782